Virtual machines (VMs) are becoming more popular nowadays because they can simulate entire systems within one physical device. It saves users from getting other hardware to deploy and manage several environments or run multiple operating systems.
However, the limited storage, performance deficiency, and absence of high-quality features of a standard PC can hinder the VM efficiency and productivity. The solution? A Network Attached Storage or NAS. Unlike a regular computer, a NAS is a more powerful and scalable platform for VMs.
Let’s walk you through why virtual machines are the best choice, what factors to consider in choosing nas for virtual machines, and how to set up your nas storage for maximum performance.
What are Virtual Machines?
Essentially, virtual machines are virtual representations of a physical computer. They use software to create an isolated environment within a physical machine, allowing users to run different operating systems (OS) or applications without them interfering with one another.
For instance, you can run Linux on a Windows Machine or set up multiple OS for different tasks without needing another physical computer.
The beauty of VMs lies in their ability to make the most out of existing hardware, offering three key benefits:
- Resource Efficiency: VMs make it possible to run multiple operating systems on a single machine. You can squeeze more out of your system by virtualizing your hardware resources (CPU, memory, and storage).
- Flexibility: VMs allow you to deploy and configure various environments with ease. You can even roll one back to its previous state, making it perfect for testing and development.
- Isolation: Applications running in one VM don’t interfere with others. So if one VM crashes, it won’t take down the others.
These reasons made virtual machines important for developers, IT professionals, and even hobbyists. But as powerful as they are, running them on PCs comes with limitations, making NAS a more attractive alternative.
Why you need a NAS for Virtual Machines
Have you ever started running your virtual machine on your PC and ended up facing storage and performance issues? Yes, your PC can handle a couple of VMs, but they are not built to handle multiple operating systems or demanding applications.
Here are the key limitations of using a traditional PC for VMs:
- Limited Storage Capacity: A PC’s internal hard drive is typically designed for general use. It can’t handle the extensive storage demands of multiple VMs.
- Performance Bottlenecks: When you run multiple applications on the same PC, it slows down performance for both the VMs and your primary OS.
- Lack of High Availability: Remember, your PC isn’t built with enterprise-level reliability in mind. Once the hardware fails, you can lose all your virtual machines.
And, this is where nas virtual machine comes into play. The following features make it an ideal platform for hosting VMS:
- Scalable Storage: You can expand your storage by adding more hard drives or SSDs. This makes NAS perfect for environments where the number of data or VMs grows over time.
- Enhanced Performance: NAS devices have dedicated resources for handling tasks like network performance and data storage. They also have more memory and faster processors than traditional PCs, so they can run VMs smoothly without impacting overall system performance.
- Centralized Management: NAS gives you a single, centralized platform to manage not just your VMs, but also your data, backups, and user permissions. This makes it easier to control and monitor your entire virtual environment.
- High Availability Features: Most NAS systems, like LincPlus’ LincStation NAS, come with RAID configurations and other failover options to ensure data redundancy and minimize downtime in case of hardware failure, making them far more reliable for VMs than standard PCs.
Using a vm nas is a smart choice if you’re looking to expand beyond what a PC can offer. But with so many options available, how do you choose the best one?
How to Choose a NAS for Virtual Machines
Choosing the right NAS for your virtual machines can be overwhelming, but it boils down to a few critical factors:
Processor
Running multiple VMs can be resource-intensive, so you must choose the right processor (CPU). Look for multi-core processors as they can handle concurrent virtual environments without a hitch. We recommend you get a NAS model with dedicated virtualization support, like the LincStation, as it offers the processing power needed for demanding tasks.
RAM
Memory (RAM) is equally important. The more RAM your NAS has, the more VMs it can handle efficiently. If you plan on running only a few lightweight VMs, 8 GB of RAM is enough. But for more intensive applications, you should get at least 16 GB.
Storage
VMs require substantial storage, especially as your virtual environments multiply or grow in complexity. Yes, traditional hard disk drives (HDDs) offer vast storage at lower prices, but we recommend SSDs (Solid State Drives) because they are faster. LincStation’s scalable storage ensures you can upgrade your drives as your needs evolve.
Connectivity
Gigabit Ethernet is the baseline for any NAS used for VMs. If you have a large setup, we suggest you get a 10 Gigabit Ethernet for faster data transfers. This is particularly important if your VMs rely on fast read/write speeds for optimal performance.
Virtualization Support
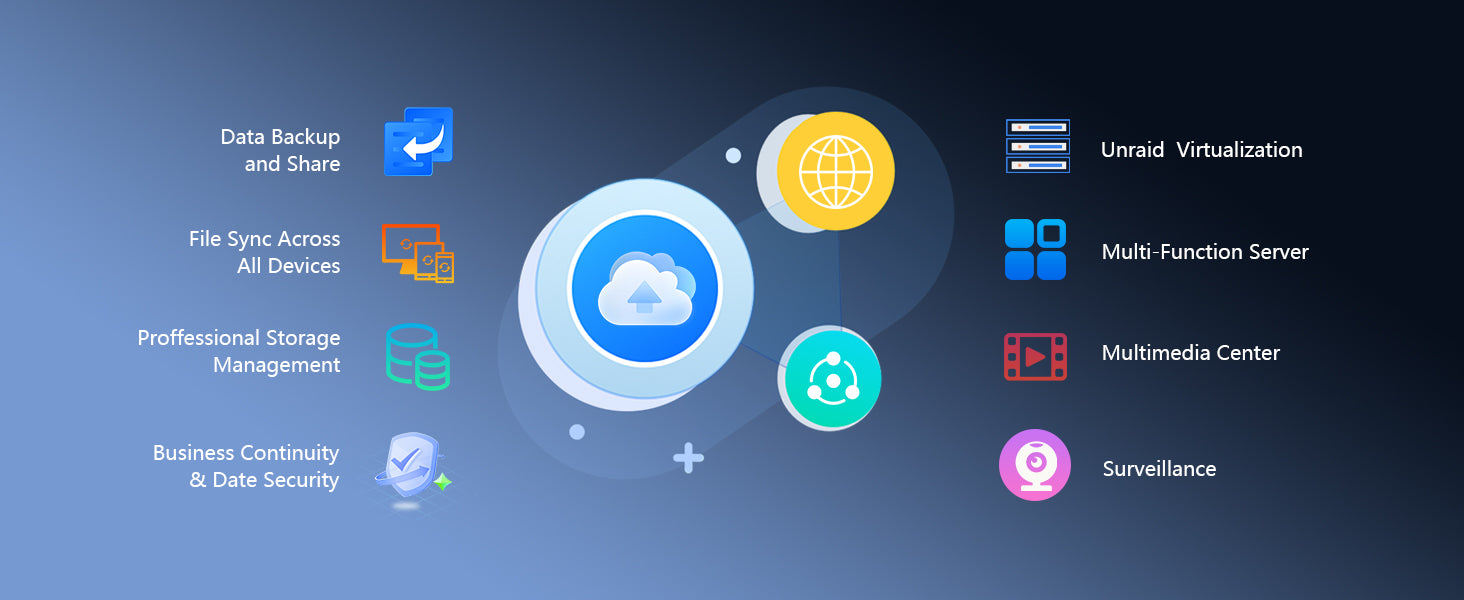
Not all NAS devices support virtualization natively, so make sure you choose one that is compatible with virtualization platforms, such as Unraid, VMware, or Hyper-V. The LincPlus’ LincStation even comes with built-in support for popular virtualization software, streamlining the setup process.
LincStation NAS by LincPlus stands out as a leading solution for virtual machines. Offering powerful processors and scalable storage, it’s ideal for users who need reliable performance and flexibility.
It supports SSDs, ensuring fast data access and efficient VM operation. Plus, it has an intuitive interface and remote management capabilities that allow you to monitor and control your VMs from anywhere.
How to Set Up Virtual Machines on a NAS
Setting up virtual machines on a NAS like Unraid is a straightforward process, but it varies depending on the platform and software. Here’s a general overview of how to get started:
Step 1. Install Virtualization Software: Install a VM Manager, like Unraid, directly on the NAS to help manage and run virtual environments.
Step 2. Configure Storage Network: Assign SSDs for VM storage to boost performance and set up the necessary network configurations. Make sure each VM has its IP address and can communicate with other devices on the network.
Step 3. Create Virtual Machines: Navigate to the VM Manager section, then create and provision new VMs. Select your preferred OS and allocate RAM, CPU cores, and storage.
Step 4. Install the OS: Install the OS and configure the VM as needed. Install the software, adjust the settings, and establish network connections.
Step 5. Monitor and Manage: Monitor the performance of your VMs, manage storage, and make changes as your needs evolve.
We recommend you use Unraid as your virtualization software due to its robust VM capabilities. It is user-friendly, so you can easily deploy and manage virtual environments. Plus, there are tutorials and guides available online to help you set it up.
Conclusion
Using a NAS for virtual machines offers numerous benefits, from scalable storage to enhanced performance. By offloading VMs to dedicated hardware, you can optimize resource management, streamline workflows, and ensure your data is safe and accessible all the time.
Whether you’re building development environments, testing platforms, or personal servers, a NAS, particularly from LincPlus, can elevate your virtual machine management and streamline your workflows.


Laisser un commentaire
Tous les commentaires sont modérés avant d'être publiés.
Ce site est protégé par hCaptcha, et la Politique de confidentialité et les Conditions de service de hCaptcha s’appliquent.